Midjourney's new Edit model: prompts that change only what you ask
Published
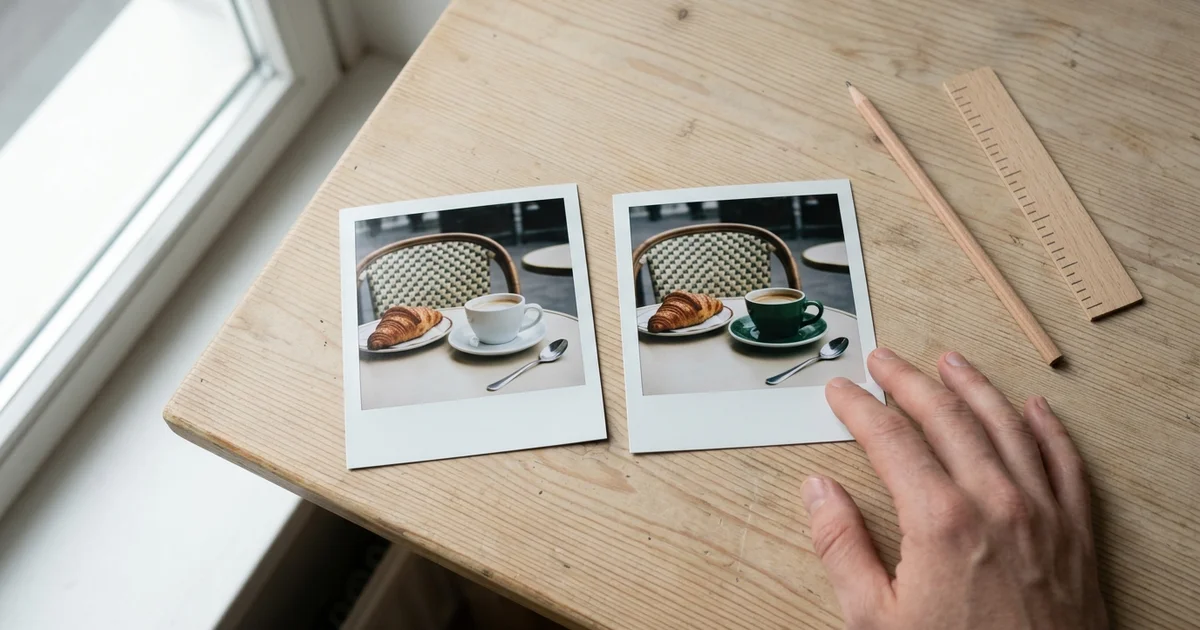
Short answerWith Midjourney's Edit model you describe the change in a plain sentence instead of rewriting the whole prompt. Name one change at a time, say what must stay the same, and use reference images when you need the same person or product across several pictures.
Midjourney has always been good at making new images. Changing one detail in an image you already like was harder. You'd tweak the prompt, regenerate and hope the rest stayed put. The new Edit model changes that. You open an image, type what you want changed in normal words, and Midjourney edits it.
This guide explains what the Edit model does and gives you prompts that keep your edits clean.
What the Edit model does
According to Midjourney's Edit model documentation, it works in three ways:
- Edit with written instructions. Change an existing image by describing the change.
- Generate with up to 4 reference images. Useful for keeping the same character or product across pictures. It replaces Omni Reference and Character Reference in V8.x.
- Use the Editor for specific areas. Change a selected part of the image (inpainting) or extend the canvas beyond the original frame (outpainting).
Midjourney says it works with versions 8.1 and 8.2, and alongside Image Prompts, Style References, Moodboards, Personalization and --hd. It also replaces the older Retexture tool. On Discord you can reach it with --edit followed by an image URL; on the website, open an image and choose Edit. Features in testing can change, so check Midjourney's updates page if something looks different.
The golden rule: one change, and what stays
The Edit model is literal. If you ask for three things, you may get three things plus some you didn't ask for. The most reliable edit prompt has two parts: the change, and the things that must not move.
Change [WHAT TO CHANGE, e.g. the cup] to [NEW VERSION, e.g. a matte black ceramic mug].
Keep everything else exactly the same: [LIST, e.g. the table, the light, the plant, the framing].
Naming what stays matters more than you'd think. "Keep everything else the same" helps, but listing the two or three things you care about most helps more.
Prompts for common edits
Change a colour
Change the colour of the [OBJECT, e.g. sofa] to [COLOUR, e.g. deep olive green]. Keep its fabric texture, folds, shadows and highlights exactly as they are. Nothing else changes.
This is the same idea as the change clothing colour prompt, which works in Gemini and ChatGPT too.
Swap the background
Replace the background with [NEW SETTING, e.g. a quiet street in Lisbon at golden hour]. Keep the subject, pose and framing the same. Match the light direction and colour temperature on the subject to the new scene.
The matching line stops the subject looking pasted on. See the background change prompt for a longer version.
Remove something
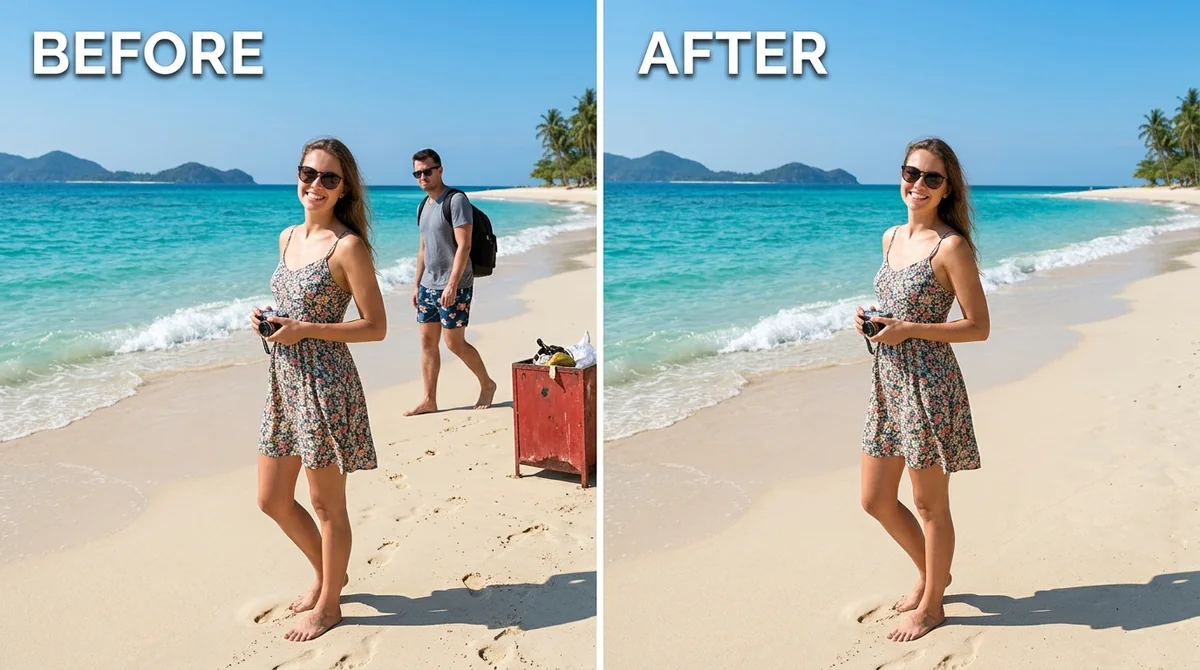
Remove [OBJECT, e.g. the bin on the left]. Fill the space with [WHAT SHOULD BE THERE, e.g. more of the brick wall and pavement], matching the light and texture so there is no visible patch.
Saying what should fill the gap gives better results than "remove it" alone. For small areas, select them in the Editor first so the change stays local.
Make the frame wider
For outpainting in the Editor, tell it what to add, not just "extend":
Extend the image to the [LEFT / RIGHT / TOP]. Continue the scene with [WHAT APPEARS, e.g. more beach and a distant headland]. Match the grain, colours and perspective.
The extend photo canvas prompt is written the same way.
Using reference images well
Up to four reference images sounds like "more is better", but it isn't always. A few tips:
- Same subject, different angles. Several views of one subject give the model more to work with. Front, side and three-quarter views of one product work better than four random photos.
- Keep references clean. A plain background and even light make it clear what the reference is for.
- Say what each reference is for. "Use the references for the product's shape and label. Place it on [SURFACE] with [LIGHT]."
Here is a prompt for product shots that stay consistent:
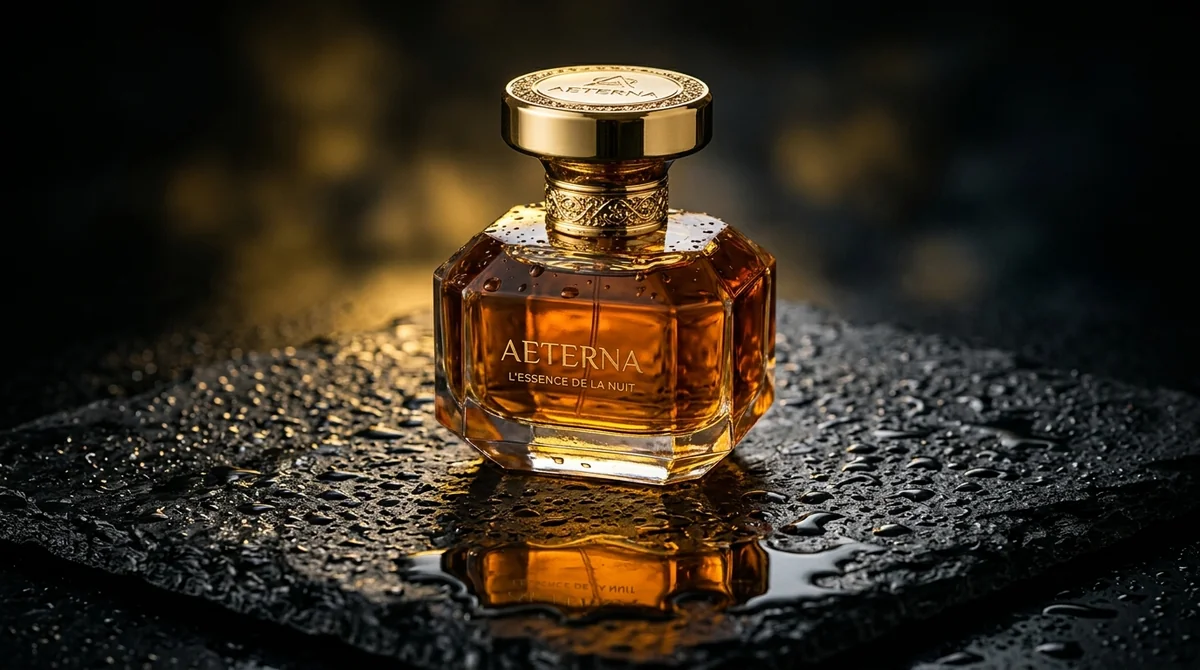
Studio product photo of the product shown in the reference images, same shape, colours and label. Placed on [SURFACE, e.g. pale travertine stone] with [LIGHT, e.g. soft morning window light from the left]. Clean background, sharp focus on the label.
If you want a more dramatic look, borrow the lighting words from the luxury product shot prompt.
When an edit goes wrong
It changed more than you asked. Shorten the instruction to one change, and add a "keep" list.
The change is too weak. Be more specific: "bright red" rather than "more red".
Faces or products drift. Add a reference image of the original, and say "same face" or "same label".
The edit looks pasted on. Ask it to match the light, shadows and grain of the original.
Where to go from here
If a normal Midjourney prompt is giving you trouble, read why your Midjourney prompt isn't working. You'll find more ready-to-use prompts in the PromptUp Midjourney prompts collection, and the prompt builder can help you write the first image before you edit it.
Quick checklist
- One change per edit.
- Say what must stay the same.
- For removals, say what should fill the gap.
- Use the Editor to select small areas.
- Reference images: same subject, clean, with a clear job.
- Ask it to match light and grain so edits blend in.
Comments
No comments yet. Be the first to share what worked for you.