The Adobe plugin in ChatGPT, and the prompts that get good results from it
Published
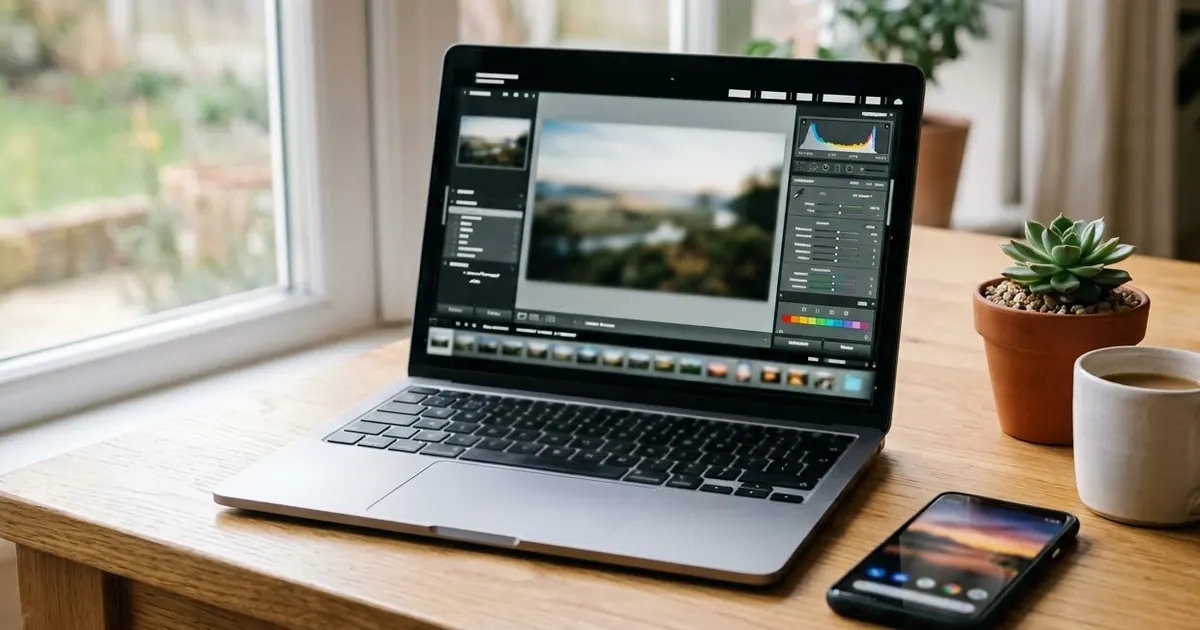
Short answerType @Adobe in ChatGPT, describe the edit in plain English, then fine-tune the result with the interactive controls Adobe added on 29 September 2026. Ask for one change at a time and you'll get far cleaner edits.
Adobe has been building its way into ChatGPT since August 2026, when it launched the Adobe plugin with more than 70 tools from Photoshop, Premiere, Firefly, Express and Acrobat, all usable by typing @Adobe into a chat. On 29 September 2026, alongside OpenAI's DevDay, Adobe added something it was missing: interactive editing controls, so you're no longer stuck with whatever the AI gives you on the first try.
If you've used ChatGPT for photo edits before and found the results close but not quite right, this update is worth knowing about. Here's what changed and how to prompt it well.
What's new
Before this update, editing a photo through the Adobe plugin meant describing a change in words and hoping for the best. Now, after you ask for an edit, an interactive editor opens in a side panel inside ChatGPT. You get direct controls, such as sliders for hue and saturation, on top of the conversational editing the plugin already did. The idea is simple: you describe the edit, the plugin makes a first pass, and then you nudge it with controls instead of writing a new prompt and hoping the second try is better.
Adobe says the editors cover images, designs and PDFs, and that the update is rolling out globally on ChatGPT web and the ChatGPT app.
How to open it
- Start a new chat and type
@Adobe, then pick Adobe from the menu that appears. You can also add it from the "+" or apps button if you don't see it by default. - You can use a broad set of the tools as a guest, without signing in.
- Signing in with your Adobe account gives you more, including generative AI workflows and saving your work straight to Creative Cloud.
Once it's open, upload your photo and describe what you want.
How to prompt it well
The conversational part still works the same way it would in plain ChatGPT, so the usual rules for a good image prompt apply:
1. Say what to keep, not just what to change
The plugin can touch more than you intended if you're vague. Always say what should stay the same.
Replace the background of this photo with a cosy café interior with warm bokeh lights. Keep me — face, hair, clothes and pose — exactly the same, and match the new light on my face and the shadows I'm casting.
This is the same idea behind our background change prompt: name the new scene, then explicitly protect the parts you don't want touched.
2. Ask for one change at a time
It's tempting to list five fixes in one message: better light, smoother skin, a new background, warmer colours. Ask for one, check the result, then use the interactive controls or a follow-up message for the next. You'll get a cleaner result and it's much easier to tell what each step actually did.
3. Use the sliders for small adjustments, not big changes
The new hue and saturation controls are for nudging a result that's 90% right, not for a complete redo. If the edit is fundamentally wrong, for example the wrong background entirely, it's faster to write a new prompt than to try to slider your way there.
4. Name the look, not just the mood
"Make it look nicer" gives the model nothing to work with. Say what "nicer" means: warmer light, a specific time of day, a named style. Our golden-hour relight prompt is a good example: it names the time, the light direction and what must stay untouched.
Relight this photo as if it was taken at golden hour, warm side light from the left, soft rim light on the hair, gentle lens glow. Keep the person, clothing, pose and background exactly as they are. Do not change the face.
5. For PDFs and designs, describe the layout, not just the content
The plugin's PDF and design tools (built on Acrobat and Express) respond well when you describe structure: "a two-column layout with the logo top left" works better than "make it look professional". If you're new to writing that kind of request, our guide on how to write AI prompts covers the same structure for any tool.
Fixing common problems
It changed my face. Add "keep every facial feature exactly the same" at the start of your prompt, and repeat it if the next attempt still drifts.
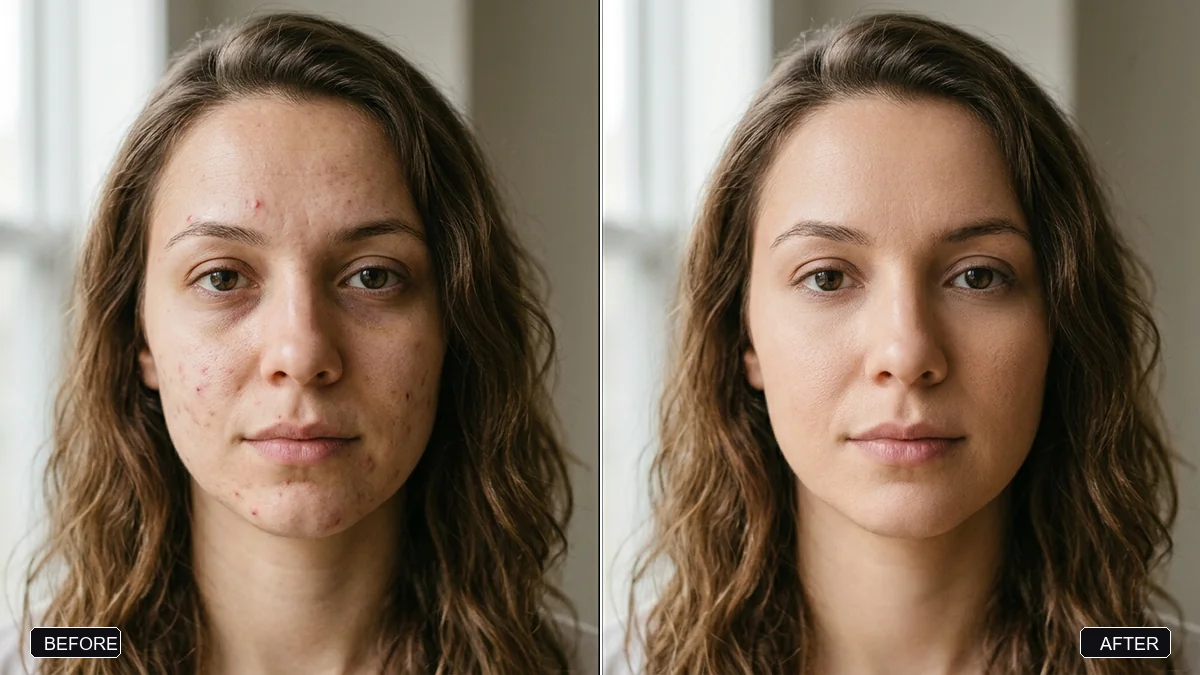
The edit looks fake or AI-generated. Ask it to match lighting and shadows to the new scene, and avoid asking for more than one big change at once. The natural skin retouch prompt is built around this: it asks for realistic retouching and explicitly says not to smooth away real skin texture.
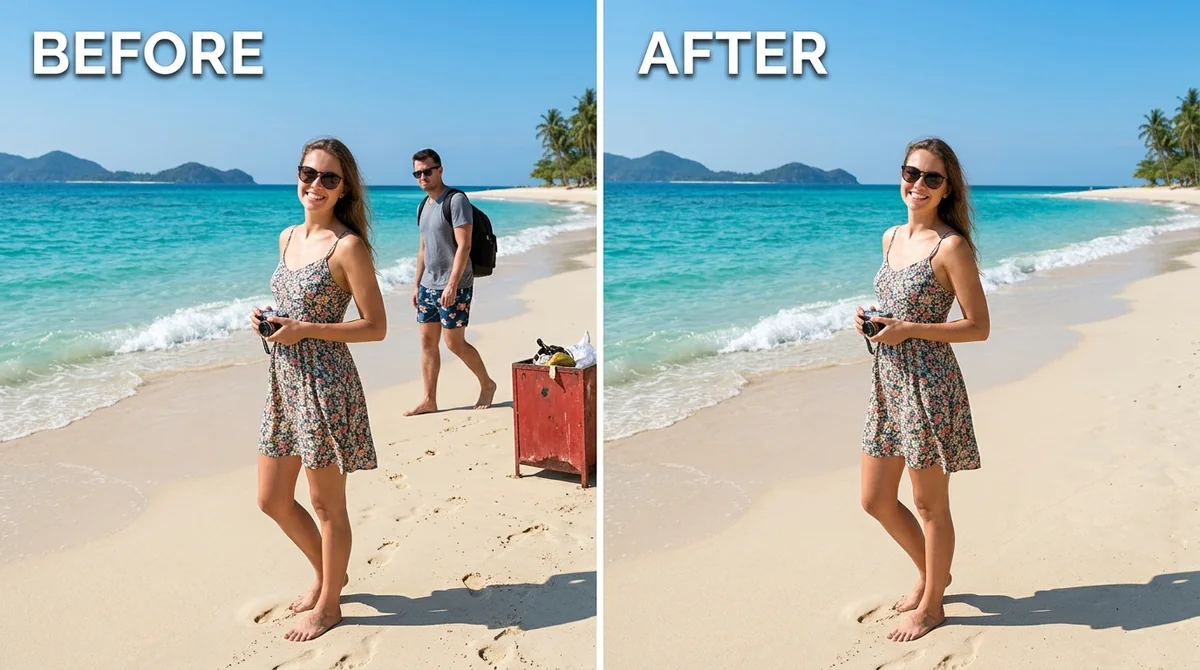
An object is still there after you asked to remove it. Be specific about what to remove and ask it to reconstruct what's behind it, as in the remove unwanted object prompt.
Colours don't match across a set of photos. Upload a reference photo alongside the one you're editing and ask the plugin to match tone and white balance to it, the way the colour match prompt does.
Where to go from here
For more on general photo-editing prompts, see our guide on editing photos with AI. All the prompts in this post are free in the photo editing prompts collection, and the prompt builder can write a custom one for your exact photo.
Quick checklist
- Open the plugin by typing
@Adobein a ChatGPT message. - Say what should stay the same before you say what to change.
- Ask for one change at a time, then use the sliders for small nudges.
- Name the exact look you want: light, time of day, mood.
- For PDFs and designs, describe the layout you want, not just "make it nice".
Comments
No comments yet. Be the first to share what worked for you.