AI passport photo prompts: a proper ID photo from a selfie
Published
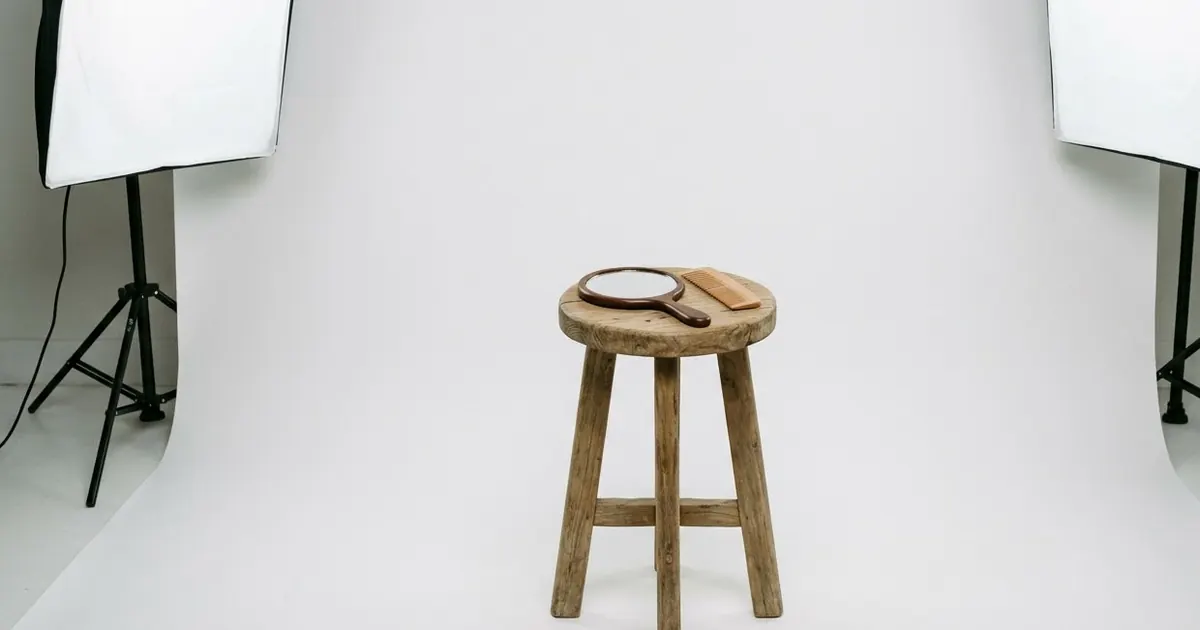
Short answerAsk for a plain background, head and shoulders centred, neutral expression and even lighting, and say clearly that your face and skin tone must stay exactly the same. Then check your country's official photo rules before you use it for anything real.
Getting a passport or ID photo usually means finding a photo booth or studio, sitting against a plain wall, and hoping the lighting is even. AI photo editors can now get you most of the way there from a selfie you already have. It won't replace an official photo booth for every document, but for a quick draft, a form that accepts an uploaded photo, or a card that doesn't need government sign-off, it's a genuinely useful shortcut.
What a proper ID photo actually needs
Before the prompt, it helps to know what's usually being checked:
- A plain, even background, normally white or light grey.
- Head and shoulders, centred, facing the camera directly.
- A neutral expression with both eyes open.
- Even lighting, with no harsh shadows on the face or background.
- No filters, no heavy retouching, no beautifying.
That last point matters more with AI than with a photo booth, because it's exactly the kind of thing an image editor will do unless you tell it not to.
The main prompt
Use a clear, front-facing selfie taken in daylight, then try the passport / ID photo prompt:
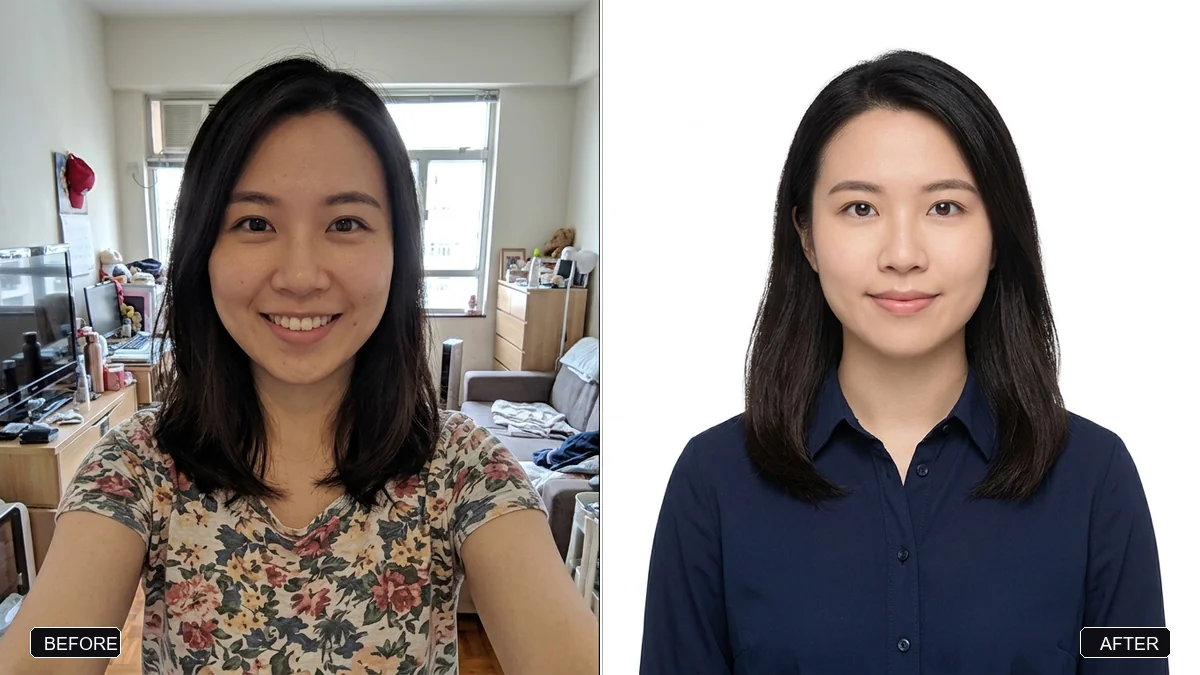
Convert this selfie into a formal passport-style photo. Keep my face, features, and skin tone exactly the same — do not beautify or reshape anything.

Requirements: a plain [BACKGROUND COLOUR, e.g. white] background; head and shoulders centred and facing straight; neutral expression with both eyes open; even lighting with no shadows on the face or background; [OUTFIT, e.g. a plain dark collared shirt].

Output in [SIZE, e.g. 35 x 45 mm] proportions, high resolution.
The line about keeping your face and skin tone the same is doing the most work here. Without it, some editors will smooth skin or adjust proportions automatically, which can make a photo fail official checks even though it looks fine at a glance.
Always check your country's official rules before you submit anything. Passport and visa photo requirements (exact size, background colour, glasses allowed or not, how recent the photo needs to be) vary by country and change over time, so confirm the current rules on your government's own passport or visa page rather than guessing from an old form.
If the result looks off
Shadows on the face or background. Ask for "even, shadowless lighting" and retake the source selfie facing a window if you can.
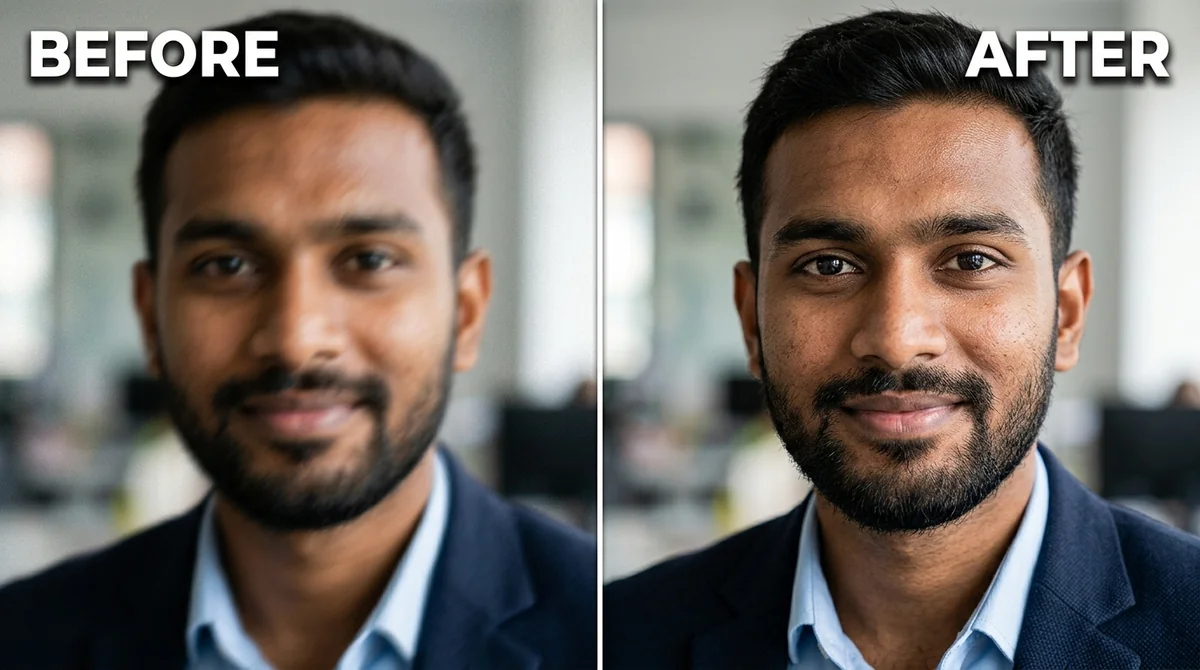
The photo came out blurry or soft. Run it through the fix a blurry photo prompt first, which sharpens detail without changing your face.
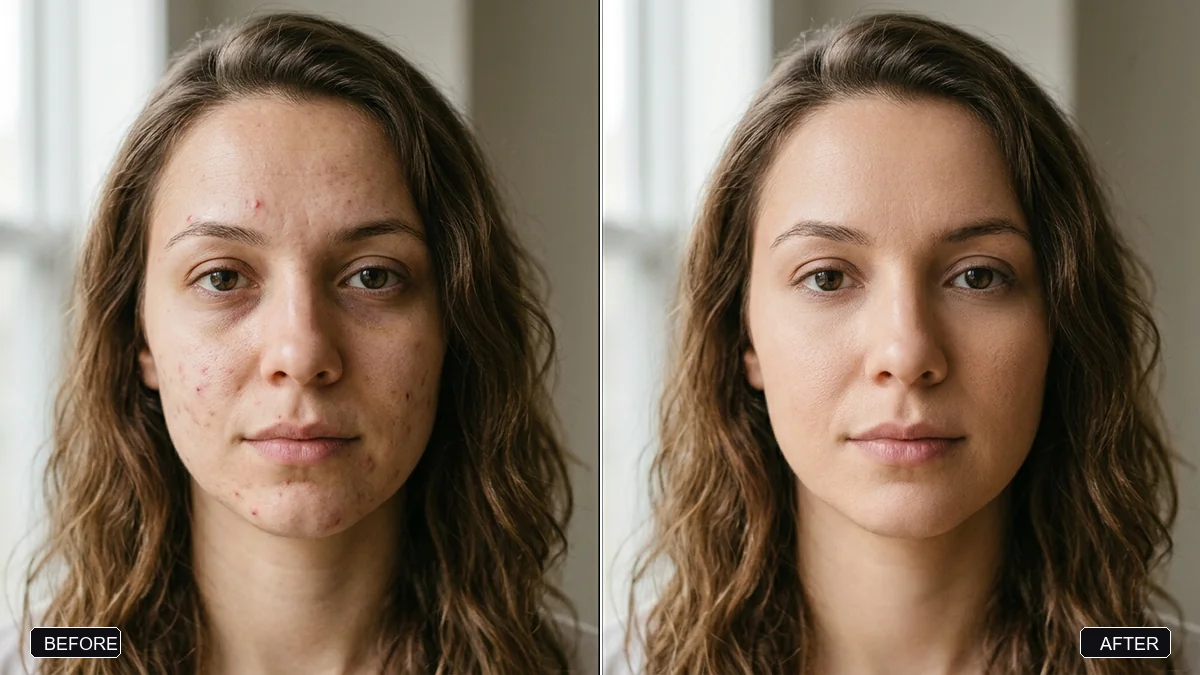
The skin looks plastic or over-smoothed. The natural skin retouch prompt is built to undo exactly that: it evens out tone while keeping real texture, pores and features like moles and freckles.
For a work profile instead of a passport
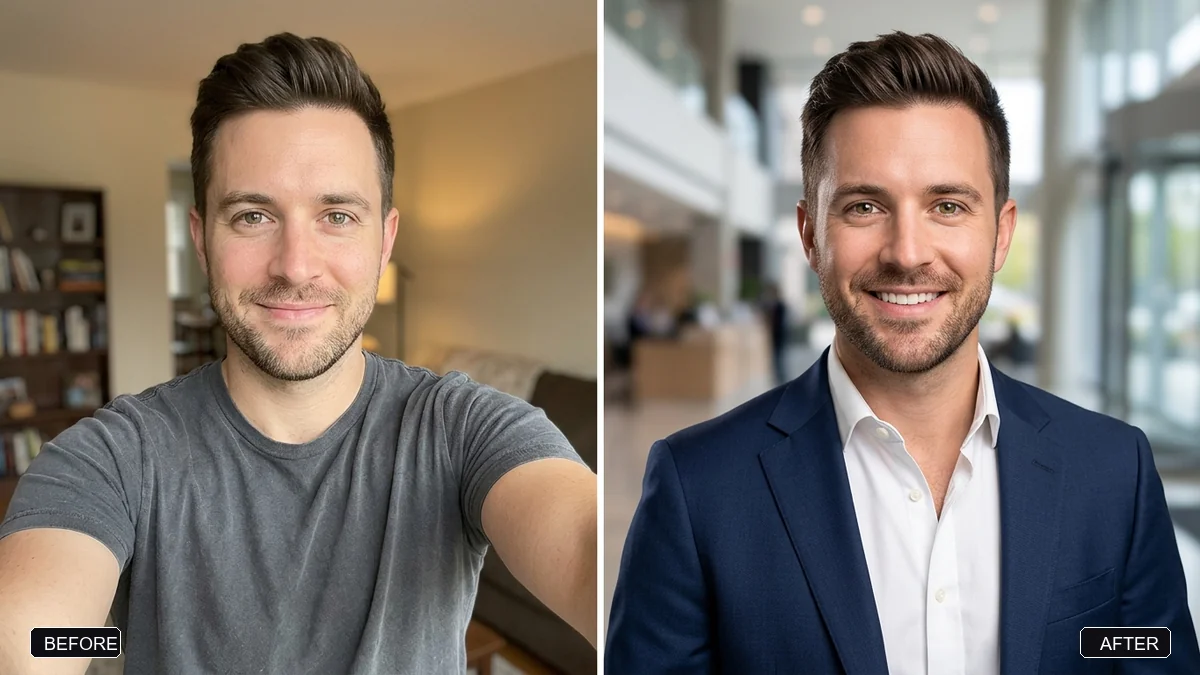
If what you actually need is a professional photo for LinkedIn or a company profile rather than a government ID, the bar is different: a softer background and better light are fine, and a plain white wall isn't required. The professional headshot prompt is built for that instead:
Turn this selfie into a professional headshot. Keep my face, facial features, skin tone, hairstyle, and expression exactly the same — it must clearly be me.

Change my outfit to [OUTFIT, e.g. a navy blue blazer with a white shirt]. Use a clean, softly blurred [BACKGROUND, e.g. light grey studio] background. Flattering soft studio light, natural skin texture, not plastic.
For a college or event ID card
Some ID cards, like a college fest pass or a club membership card, are more relaxed about background and expression. The college fest portrait prompt gives a more colourful, on-brand result for that kind of card, while still keeping your face recognisable.
Printing it correctly
If you need a physical print, take the finished photo to a photo shop or print service and ask for the exact size your document needs (for example, "35 x 45 mm, matte finish"), rather than printing it at home at an approximate size. A photo that's the wrong physical size is one of the most common reasons an otherwise good ID photo gets rejected.
Where to go from here
For more on keeping a face and identity intact through any AI edit, see our guide to editing photos with AI prompts without changing faces. Browse more ideas in the photo editing prompts collection, or use the prompt builder to write a custom version for your own photo.
Quick checklist
- Start from a clear, front-facing selfie in daylight.
- Say clearly that your face, features and skin tone must stay exactly the same.
- Ask for a plain background, centred head and shoulders, and even lighting.
- Check your country's current official photo rules before submitting anywhere official.
- Print at the exact size your document needs, at a proper photo shop.
Comments
No comments yet. Be the first to share what worked for you.