Blog
How to edit an AI prompt when the result isn't right
Short answer: Don't rewrite the whole prompt. Work out what is wrong with the result, change one detail that controls it, and run it again, so you can see what each edit did.
Published
You pasted a prompt, the AI gave you something back, and it is close but not right. The outfit is wrong, the tone is stiff, or the face has drifted from your photo. Most people react by starting over with a brand new prompt. That usually makes things worse, because you lose the parts that were working.
A better habit is to edit the prompt: keep what works, change the one thing that doesn't. This guide shows how.
Start with the [BRACKETED] fields
Most prompts in the PromptUp library have fields in square brackets, such as [OUTFIT, e.g. a navy blue blazer with a white shirt]. They are the parts designed to be swapped. Before you change anything else, make sure each one is filled with something specific.
A field left vague gives a vague result. Compare:
| Field | Weak | Strong |
|---|---|---|
[OUTFIT] | "something professional" | "a charcoal blazer over a white open-collar shirt" |
[BACKGROUND] | "office" | "light grey studio, softly blurred" |
[JOB TITLE] | "marketing" | "Marketing Analyst" |
[MAIN VISUAL] | "a person" | "a young man with a surprised expression holding a piggy bank" |
The examples in the brackets are only suggestions. Replace them with your own details.
Change one thing at a time
If you change the outfit, the background, the lighting and the tone in one go, and the result improves, you won't know which change did it. If it gets worse, you won't know which one to undo.
Change one detail, run the prompt again, and compare. It is slower for the first two or three tries and much faster after that, because you learn what each part of the prompt controls.
Match the fix to the problem
Work out what is wrong first, then pick the part of the prompt that controls it.
| What's wrong | What to edit |
|---|---|
| The face or subject doesn't look like the original | Strengthen the "keep" line: "keep my face, features, skin tone and expression exactly the same" |
| The result looks plastic or over-smoothed | Add "natural skin texture" or "visible film grain" and remove words like "flawless" |
| The style is wrong | Name the style, the lighting and the colours directly, instead of "nicer" or "better" |
| Text in the image is garbled | Put the exact words in quotes, keep them to 3 or 4 words, and say where they go |
| A written answer is too generic | Add context: paste the job description, the draft or the facts |
| A written answer is the wrong length or format | State the limit: "max 250 words", "5 bullets, each under 20 words" |
| The tone is off | Describe it: "confident and human, no corporate phrases" |
Say what to keep, not only what to change
When you edit a photo, the AI may change more than you asked for. The fix is to name what must stay the same. The LinkedIn headshot prompt does this in its first lines:
Turn this selfie into a professional LinkedIn headshot. Keep my face, facial features, skin tone, hairstyle, and expression exactly the same — it must clearly be me.
If your result still drifts, don't delete that line. Make it more specific, for example by adding the feature that changed ("keep my glasses and my beard").
Fix a written answer with a follow-up
For text tasks, you don't need to start a new chat. Reply to the answer with a targeted instruction:
- "Make the opening line more specific to this company."
- "Cut this to 200 words and remove the second paragraph."
- "Replace the buzzwords with plain language."
- "Keep the structure, but make it sound more like me. Here is a paragraph I wrote: …"
The tailored cover letter prompt is a good place to practise this. Fill in the job requirements and your achievements, read the first draft, then edit with follow-ups instead of rewriting the prompt.
Fix an image by editing the layout, not adding words
With image prompts, adding more adjectives rarely helps. Change the layout, the light or the framing. The YouTube thumbnail prompt says where each element goes:
Show [MAIN VISUAL] on the right side, large and close-up. ... Leave the left side open for bold headline text.
If the headline is hard to read, edit the placement or the colours, not the word count. For example: "Put the visual on the left and the headline on the right", or "Use a darker background behind the text".
A quick editing routine
- Run the prompt exactly as written, with every bracket filled in.
- Name what's wrong in one sentence: "the background is too busy".
- Find the part of the prompt that controls it and change only that.
- Run it again and compare with the last result.
- Repeat until it is right, then save the final version so you can reuse it.
If you find yourself on the tenth edit and things are getting worse, go back to the last version that worked and start from there.
Mistakes to avoid
- Rewriting the whole prompt. You throw away the parts that worked.
- Adding more and more instructions. A long prompt with conflicting instructions confuses the model. If you add something, check whether you should remove something too.
- Vague fixes. "Make it better" gives the AI nothing to act on. Say what better means.
- Forgetting to say what to keep. In an edit, the parts you don't mention may change.
Next steps
To see how a whole prompt is put together, read how to write a good AI prompt. To skip the blank page, try the prompt builder or browse the full prompt library.
Prompts to try
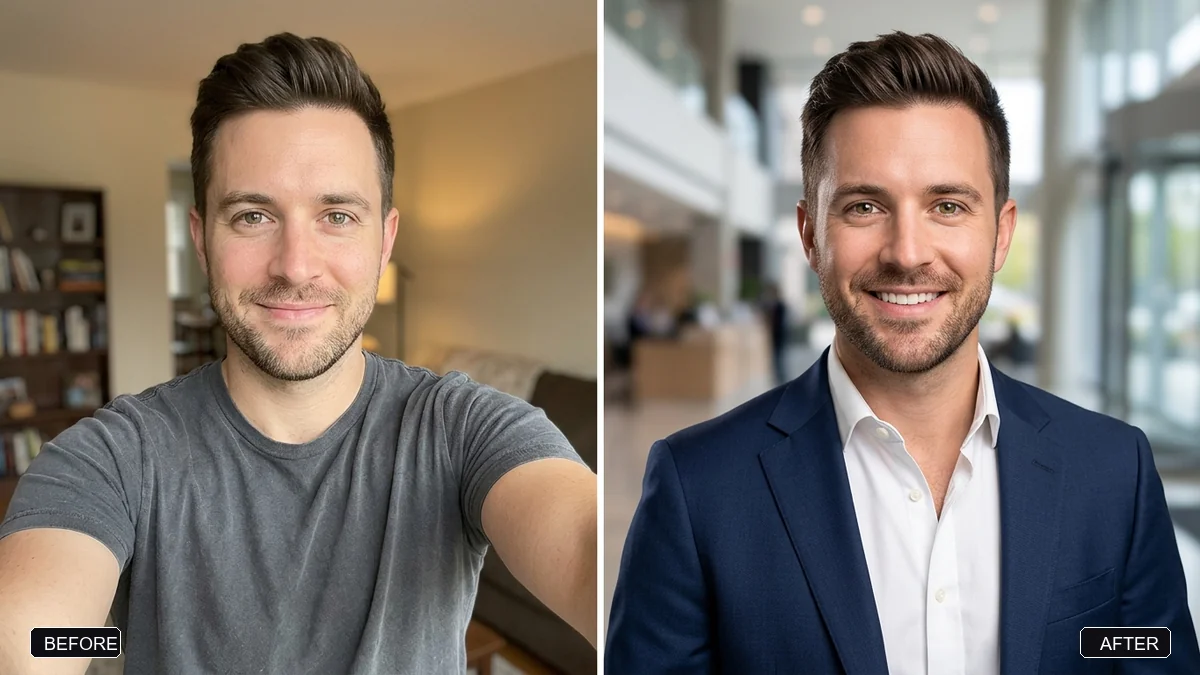 Photo edit · TrendingPro LinkedIn headshot from a selfieGemini · ChatGPT
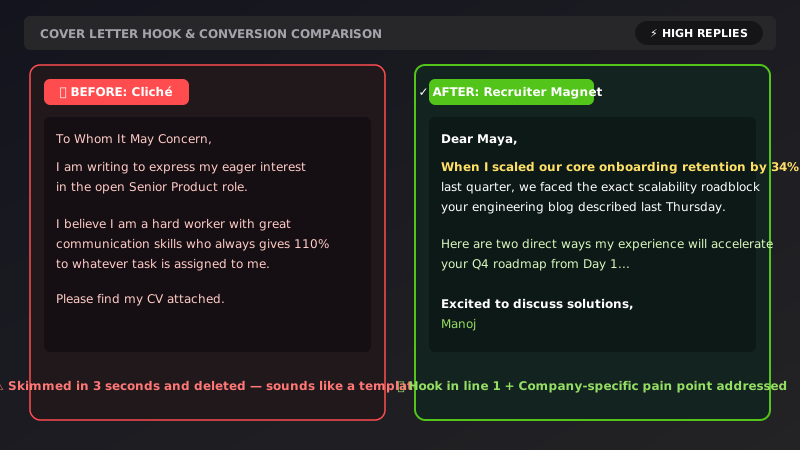 Text & chatTailored cover letter that gets interviewsChatGPT · Gemini · Claude
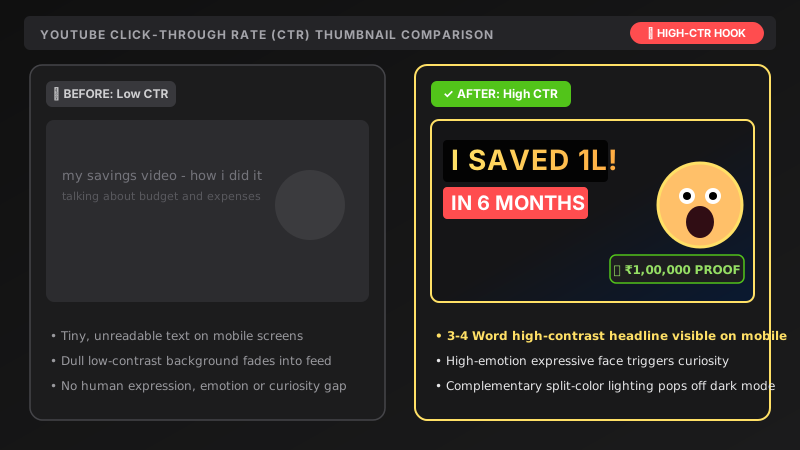 Image · TrendingViral YouTube thumbnailGemini · ChatGPT
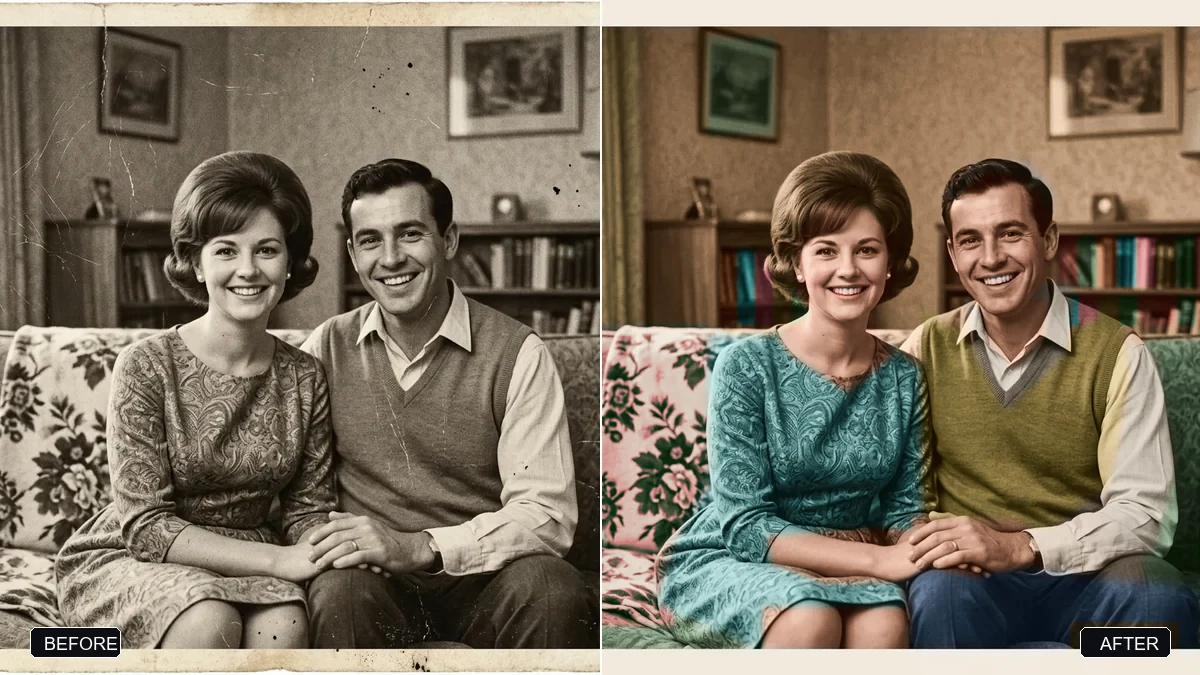 Photo edit · TrendingRestore an old, damaged family photoGemini · ChatGPT
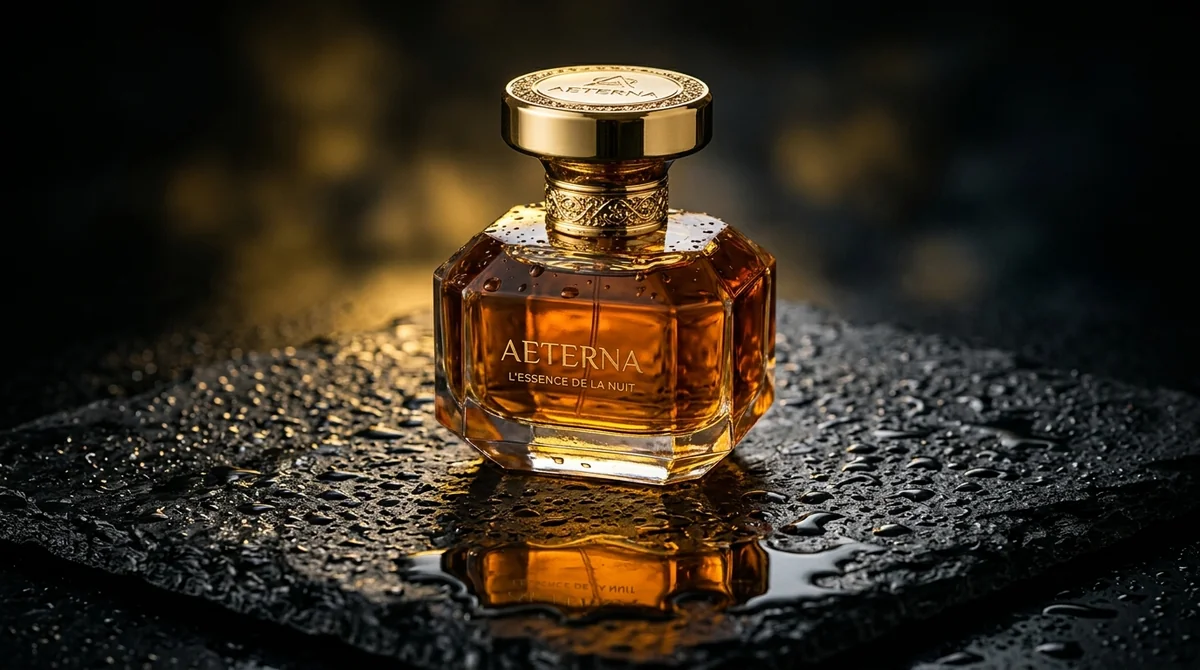 Image · TrendingLuxury commercial product shotMidjourney · Flux