AI photo restoration prompts: bring old family photos back
Published
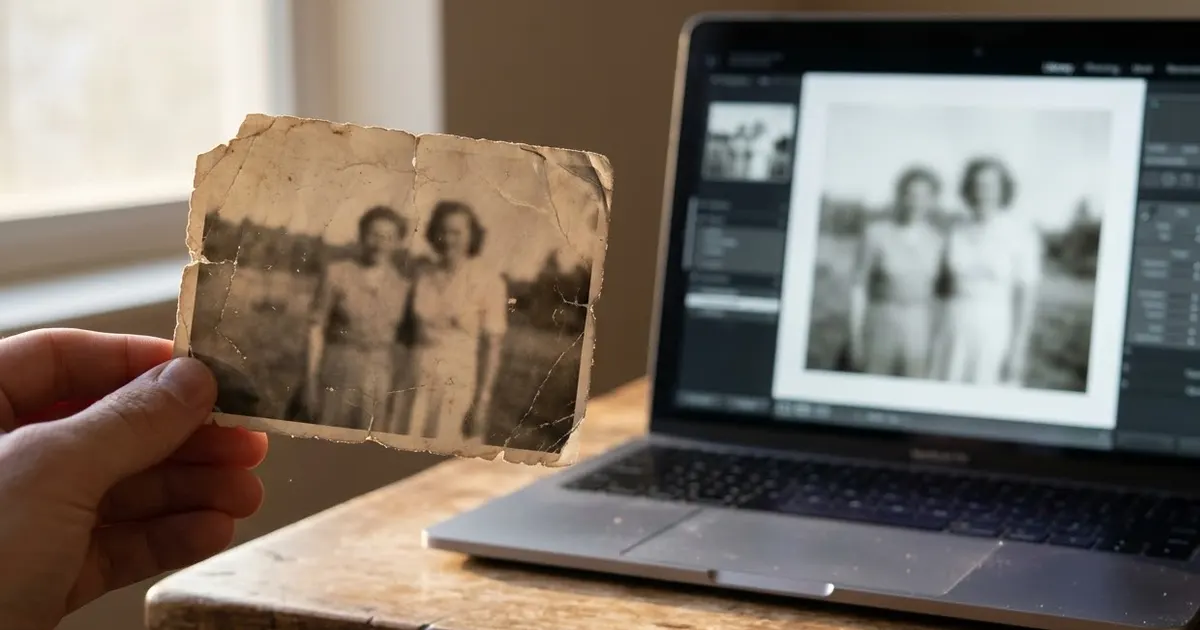
Short answerScan or photograph the print flat in good light, then ask the AI to repair damage and recover faded detail while keeping every face faithful to the original. Fix one kind of damage at a time rather than asking for everything at once.
Most families have at least one photo that matters more than its condition deserves: a grandparent's wedding photo with a crease across the middle, a childhood print that's faded to orange, a torn corner missing a face. AI photo tools like Gemini and ChatGPT can repair a lot of this without sending the print anywhere or paying for a professional scan and retouch.
The one rule that matters more than any prompt: a restoration should recover what's there, not invent a new version of someone's face. Keep that in mind as you go.
Start with a good scan or photo of the print
The result depends on what you feed in.
- Lay the print flat on a table in even daylight, away from a window's direct glare.
- Avoid flash. A flash washes out detail and adds a hotspot of glare in the middle of the photo.
- Fill the frame. Get close enough that the photo takes up most of the shot, with the edges still visible.
- If you can, scan it instead of photographing it. A flatbed scanner at a library or print shop gives a sharper starting file than a phone camera.
The main repair prompt
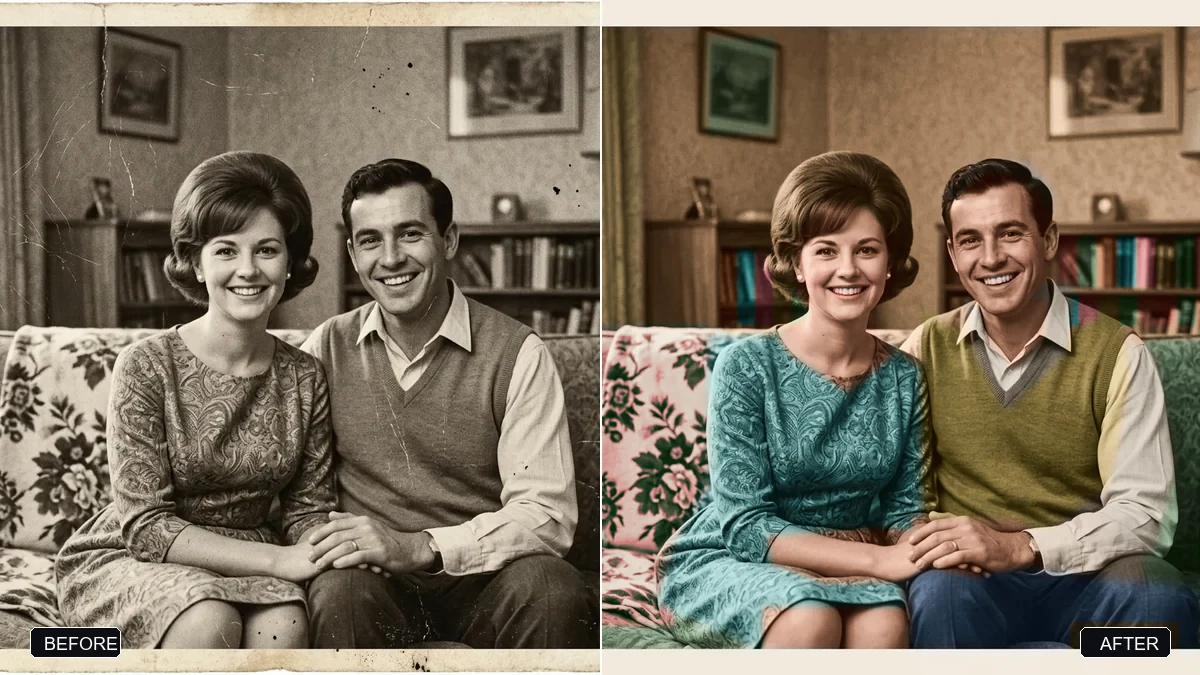
For a photo with general damage, scratches, dust, creases and faded areas, use the restore a damaged photo prompt:
Restore this old family photograph. Repair all scratches, tears, creases, dust spots and stains, and recover faded or washed-out areas. Gently sharpen the faces and reconstruct fine detail such as eyes, hair and clothing texture faithfully to the original. Do not invent a different face or change anyone's expression.
The last line matters. Without it, some tools "improve" a face by smoothing or subtly changing it, which defeats the point of a restoration.
Fixing faded colour
Old colour prints often shift towards orange or lose contrast entirely after a few decades. The restore a faded colour print prompt targets this specifically:
This colour photo has faded and shifted towards orange. Correct the colour balance back to natural, realistic tones, restore contrast, and recover detail in the lightest and darkest areas. Keep the same people, clothing colours and setting; only correct the fading, don't recolour anything from scratch.
If the result still looks slightly off, name the cast you're seeing: "a slight green tint" or "too warm, make it neutral" gives the model something specific to correct.
Joining a torn photo
If a photo has been torn into two or more pieces, photograph all the pieces laid together in their correct positions, then use the join two halves of a torn photo prompt:
These pieces are from the same torn photograph, laid in their correct positions. Join them into one seamless photo, repair the tear lines and any missing slivers, and keep every face and detail exactly as it appears in the pieces.
For a smaller torn corner rather than a full tear, the rebuild a torn photo corner prompt works the same way on just the missing section, which is usually a safer bet if a face sits near the torn area and you want to keep changes minimal.
When the photo is small or soft, not damaged
Some old prints aren't torn or faded, just small, slightly soft and low in detail from an old camera or a cheap print. The sharpen and upscale a small photo prompt increases size and clarity without the restoration language, which is the better choice when there's no actual damage to repair.
Keeping faces accurate
This is the part people worry about most, and reasonably so.
- Always include an instruction like "keep every face exactly as it appears, don't change the expression or features."
- If a face is badly damaged, the tool has to make some decision about what was there. Say so explicitly rather than letting it guess silently: "the area over the left eye is missing; reconstruct it to match the visible eye and the rest of the face, and flag that this part is a best guess."
- Compare the result against the original carefully before you print it or share it. A restoration that's subtly wrong about someone's face is worse than a slightly damaged photo that is still recognisably them.
Fixing one thing at a time
If a photo has several problems, tears, fading and softness, it's tempting to ask for everything in one prompt. You'll usually get a better result running one repair, checking it, then applying the next:
- Repair tears and physical damage first.
- Correct colour and fading second.
- Sharpen and upscale last, once the content is already right.
Sharpening a damaged area before it's repaired just sharpens the damage.
Where to go from here
If the photo you're restoring also needs a vintage film look added back deliberately, rather than removed, see the film look trend. All the prompts above are free in the old photo restoration prompts collection, and the prompt builder can adapt any of them to your own photo.
Quick checklist
- Scan or photograph the print flat, in daylight, without flash.
- Tell the AI to keep every face exactly as it appears.
- Fix tears and damage first, colour second, sharpening last.
- Name the specific colour cast if a colour fix looks off.
- Flag any area that's genuinely missing, rather than letting the model guess silently.
Comments
No comments yet. Be the first to share what worked for you.