Turn on phone theft protection before your phone gets stolen
Published
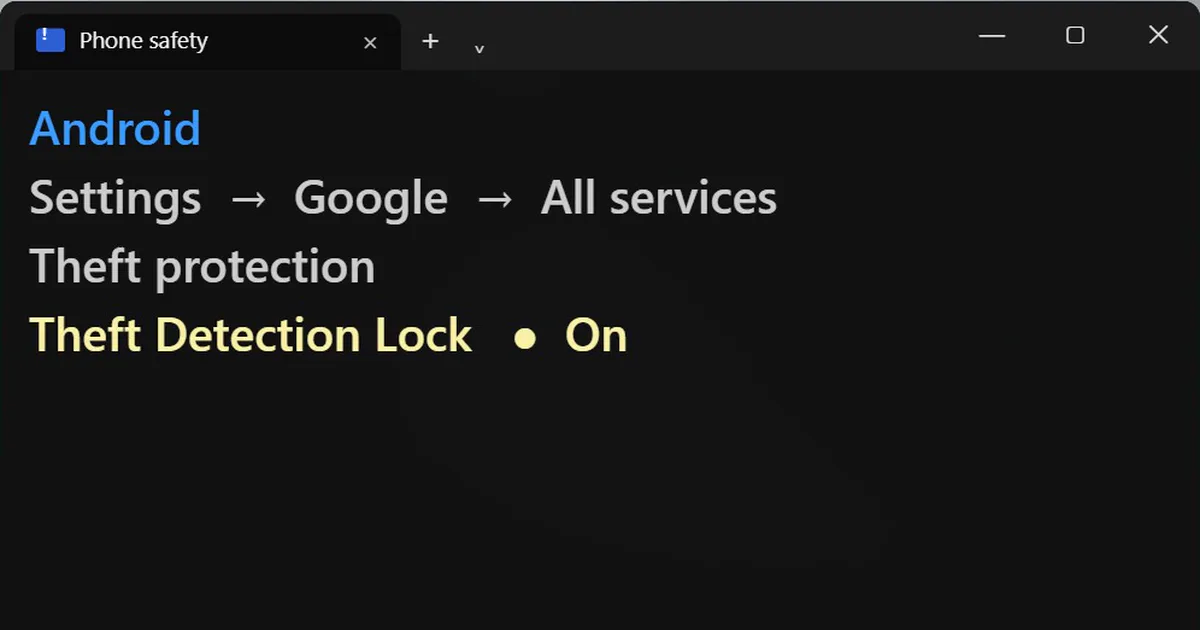
Short answerOn iPhone, turn on Stolen Device Protection in Settings, Face ID and Passcode (iOS 17.3 or later). On supported Android phones, turn on Theft Detection Lock under Settings, Google, All services, Theft protection. Menu names vary by phone.
If someone grabs your phone while it is unlocked, they can try to change your passwords and lock you out within minutes. Two settings make that much harder. They take about a minute to turn on.
On iPhone: Stolen Device Protection
This needs iOS 17.3 or later.
- Open Settings.
- Tap Face ID & Passcode.
- Turn on Stolen Device Protection.
When your iPhone is away from familiar places such as home or work, some sensitive changes get stricter. For example, changing your Apple Account password needs Face ID, then a one hour wait, then Face ID again. A thief who only knows your passcode cannot do it quickly. At home, everything works as normal.
On Android: Theft Detection Lock
On supported phones:
- Open Settings.
- Go to Google, then All services.
- Tap Theft protection and turn on Theft Detection Lock.
The menu name changes a little between phone makers, and the feature is not on every phone yet. If you cannot find it, search "theft" in Settings. It also may not trigger in every situation, for example while the thief stays on a stable Wi-Fi or Bluetooth connection.
Save the find-my-phone links now
If your phone goes missing, you can locate or lock it from any browser. Save these two links now, so you are not searching for them in a panic:
- iPhone: icloud.com/find
- Android: android.com/find
Two more things that help
- Use a longer passcode than four digits, and avoid typing it where other people can watch.
- Turn on Find My on iPhone, or Find Hub (earlier called Find My Device) on Android, so the phone can be located at all.
Thirty seconds now saves weeks of resetting every account later.

Comments
No comments yet. Be the first to share what worked for you.